


Upgrading to noise-reducing windows reduces ambient sound by 60-90% in a home office within 4-6 weeks from project start to completion. This intermediate-level project requires basic measurement skills, moderate budget planning ($300-$1,500 per window including installation), and coordination with professional installers for optimal results.
Before You Begin: Prerequisites

- Skill Level: Intermediate (measurement and contractor coordination)
- Time Required: 4-6 weeks (1 week planning, 2-3 weeks ordering, 1-2 weeks installation)
- Budget: $300-$1,500 per window (materials + professional installation)
- Tools Needed: Measuring tape, notepad, smartphone camera, sound meter app (free)
- Key Term: STC (Sound Transmission Class) rating measures window soundproofing effectiveness on a scale of 25-65
Step 1: Assess Current Noise Levels and Window Conditions

Establish baseline noise measurements before purchasing new windows. According to the National Fenestration Rating Council (2024), accurate pre-installation measurements help verify post-installation improvements and determine appropriate STC ratings for your environment.
1.1 Measure Existing Noise Levels
Download a free decibel meter app (NIOSH Sound Level Meter for iOS or Sound Meter for Android). Close all windows and measure noise during peak disturbance times (typically 7-9 AM and 4-6 PM on weekdays). Record measurements in three locations: window center, desk position, and room center. Normal conversation measures 60 decibels (dB), while busy traffic ranges from 70-85 dB.
1.2 Inspect Current Window Construction
Single-pane windows (STC rating 26-28) provide minimal sound blocking compared to double-pane windows (STC rating 28-32). Examine window frames for gaps, cracks, or deteriorated weatherstripping. Check for visible air leaks by holding a lit incense stick near window edges on a calm day—smoke movement indicates air (and sound) infiltration points.
1.3 Document Window Specifications
Photograph each window from interior and exterior perspectives. Measure window dimensions (width, height, depth from interior wall to exterior surface). Note frame material (vinyl, aluminum, wood), opening mechanism (double-hung, casement, fixed), and any architectural constraints (historical designation requirements, HOA restrictions).
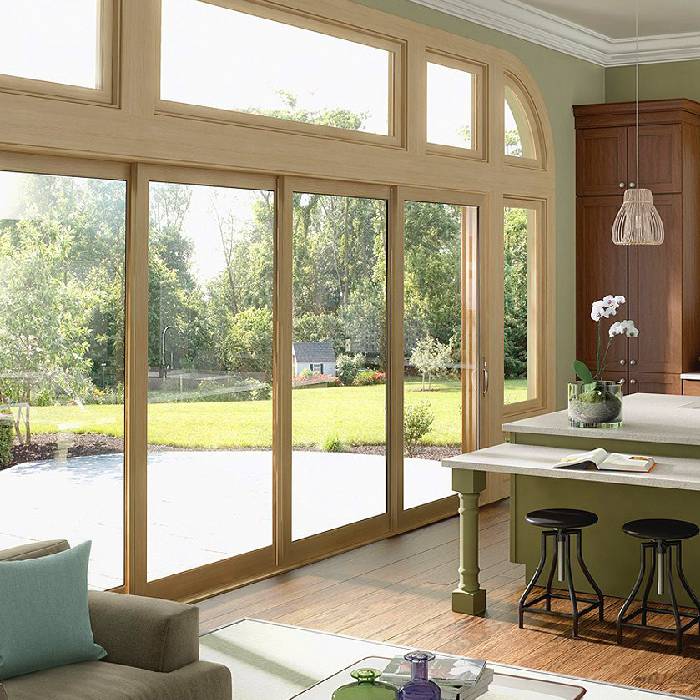
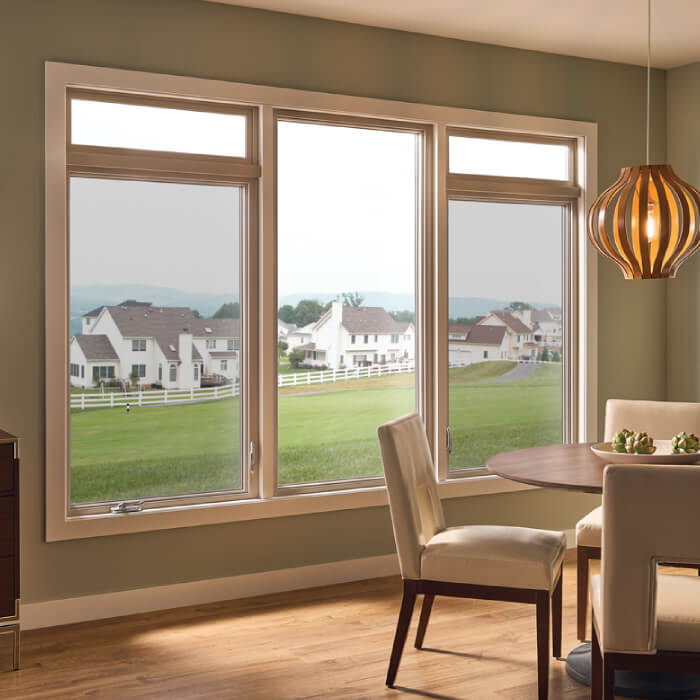
Step 2: Choose Appropriate Noise-Reducing Window Type
Select windows based on STC ratings matched to your noise environment. The Acoustical Society of America (2023) recommends STC 38-42 for urban residential areas, STC 45-48 for high-traffic zones, and STC 50+ for extreme noise environments near airports or highways.
2.1 Understand STC Rating Requirements
Each 10-point STC increase reduces perceived noise by approximately 50%. An STC 38 window blocks conversational speech to faint murmurs, while STC 48 makes loud speech barely audible. Standard double-pane windows achieve STC 28-32, laminated double-pane windows reach STC 38-42, and triple-pane laminated windows attain STC 48-52.
2.2 Compare Window Construction Types
Laminated glass windows sandwich a plastic interlayer (polyvinyl butyral) between glass panes, dampening sound vibrations more effectively than air-filled double-pane units. Triple-pane windows add a third glass layer with two insulating spaces, increasing mass and sound absorption. Unlike standard windows, noise-reducing windows use asymmetric glass thickness (5mm outer pane, 8mm inner pane) to disrupt sound wave resonance.
2.3 Evaluate Additional Soundproofing Features
Gas fills (argon or krypton) between panes improve insulation but contribute minimally to soundproofing compared to glass mass and lamination. Wider air spaces (1-2 inches vs. standard 0.5 inches) enhance sound dampening. Frame material affects performance—vinyl and fiberglass frames absorb more vibration than aluminum frames.
Step 3: Obtain Accurate Measurements and Quotes
Precise measurements prevent installation delays and additional costs. According to the Window and Door Manufacturers Association (2024), measurement errors cause 30% of window replacement project delays.
3.1 Measure Window Openings
Measure width at three points (top, middle, bottom) from inside the frame. Record the smallest width measurement. Measure height at three points (left, center, right) and record the smallest height. Measure depth from interior to exterior wall surface. Add these measurements to your documentation from Step 1.3.
3.2 Request Professional Verification
Contact 3-5 certified window installers for in-home measurement verification. Professional installers check for square frames (measure both diagonals—they should match within 1/4 inch), assess structural support adequacy, and identify potential installation complications. Request written quotes specifying STC ratings, glass specifications, frame materials, and installation timeline.
3.3 Compare Total Cost of Ownership
Calculate 10-year costs including purchase price, installation, maintenance, and energy savings. Energy Star certified windows reduce heating/cooling costs by $126-$465 annually (U.S. Department of Energy, 2024). Higher STC-rated windows typically include superior insulation properties, offsetting higher initial costs through energy savings.
Step 4: Schedule Professional Installation
Professional installation ensures proper soundproofing performance and warranty coverage. The National Association of Home Builders (2023) reports that professionally installed windows achieve 95% of rated STC performance versus 60-70% for DIY installations.
4.1 Verify Installer Credentials
Confirm installer holds active licensing for your state and maintains liability insurance coverage ($1 million minimum). Check certifications from window manufacturers—most require specific training for warranty validity. Request references from installations completed within the past 12 months.
4.2 Review Installation Specifications
Ensure contract specifies acoustical sealant application around entire frame perimeter. Standard expanding foam reduces STC ratings by 15-20% compared to acoustical sealant. Installation should include interior and exterior trim replacement or repair, proper flashing to prevent water infiltration, and post-installation performance verification.
4.3 Prepare Installation Space
Clear 6-foot workspace around each window interior and exterior. Remove window treatments, furniture, and electronics within 4 feet of windows. Cover remaining furniture with drop cloths. Plan for 2-4 hours installation time per window plus 1-2 hours for cleanup and trim work.
Step 5: Complete Installation and Verify Noise Reduction
Post-installation testing confirms achievement of expected noise reduction. Allow 24-48 hours for sealants to cure before conducting verification tests.
5.1 Conduct Initial Inspection
Check that windows operate smoothly through full opening range. Examine all joints and seams for continuous sealant beads with no gaps or voids. Verify weatherstripping creates complete contact around entire window perimeter when closed. Test locks to ensure secure closure—incomplete closure reduces STC performance by 50% or more.
5.2 Measure Noise Reduction Performance
Using the same decibel meter app from Step 1.1, measure noise levels at identical locations and times as baseline measurements. Close all windows completely and lock them. Calculate noise reduction by subtracting new measurements from baseline measurements. Expect 15-30 dB reduction depending on window STC rating and installation quality.
5.3 Document Final Results
Photograph completed installation and record final measurements. File all documentation including purchase receipts, installation contracts, warranty information, and performance measurements. Most window warranties require proof of professional installation and proper maintenance for coverage validation.
Step 6: Add Supplementary Soundproofing (Optional)
Strategic additions further reduce noise transmission after window installation. The Acoustical Society of America (2023) notes that combining multiple soundproofing methods creates cumulative noise reduction exceeding individual component ratings.
6.1 Install Acoustic Window Treatments
Cellular shades with honeycomb construction add STC 3-5 rating increase. Heavy, lined curtains (3-5 pounds per square yard) absorb sound reflections and add STC 2-4 improvement. Unlike lightweight curtains, soundproofing treatments require mounting hardware rated for increased weight loads.
6.2 Seal Electrical Outlets and Fixtures
Electrical outlets on exterior walls create sound pathways. Install acoustic outlet gaskets (available at hardware stores for $1-2 each) behind outlet covers. Seal around recessed lighting fixtures with acoustic sealant—standard caulk hardens and cracks, losing soundproofing effectiveness within 2-3 years.
Troubleshooting Common Issues
If Noise Reduction Is Less Than Expected:
Verify windows are fully closed and locked—partial closure reduces STC ratings by 50%. Check for gaps in acoustic sealant application around window frames. Test weatherstripping compression by inserting paper between window and frame; resistance when pulling paper indicates proper seal. Consider professional acoustic testing to identify sound flanking paths through walls or ceiling.
If Windows Develop Condensation Between Panes:
Condensation indicates seal failure allowing moisture infiltration. Contact installer immediately—most warranties cover seal failures for 10-20 years. Document condensation with dated photographs. Temporary mitigation includes reducing indoor humidity to below 40% using dehumidifiers, but seal replacement remains necessary.
If Installation Reveals Structural Issues:
Rotted framing, inadequate header support, or wall damage requires remediation before window installation. Request written assessment from installer detailing required repairs. Structural repairs typically add $200-$800 per window to project costs and 1-2 weeks to timeline. Address all structural issues before proceeding with window installation to prevent future performance problems.
Next Steps: Maintaining Performance
Clean window tracks and weatherstripping quarterly with mild soap solution. Avoid abrasive cleaners that damage acoustic seals. Inspect sealant annually for cracks or separation—reapply acoustic sealant to affected areas immediately. Lubricate moving parts with silicone spray annually to maintain smooth operation and proper closure.
Consider additional home office improvements including acoustic panels for wall treatment (reducing sound reflections by 40-60%), carpeting or area rugs with padding (absorbing floor-transmitted vibrations), and solid-core doors (STC 28-32 vs. hollow-core STC 15-20). Each improvement compounds noise reduction, creating a professional-grade quiet workspace supporting focus and productivity throughout 2025 and beyond.
Frequently Asked Questions
How much noise reduction can I expect from noise-reducing windows?
Noise-reducing windows can reduce ambient sound by 60-90% in your home office. The actual amount of noise reduction depends on your current window type, the quality of new windows installed, and the surrounding noise environment.
What is the typical cost range for upgrading to noise-reducing windows?
The cost ranges from $300-$1,500 per window, including professional installation. The final price varies based on window size, glass type, frame material, and local labor costs in your area.
How long does the entire window upgrade project take?
The complete project typically takes 4-6 weeks from start to completion. This timeline includes initial measurements, ordering custom windows, scheduling installation, and final completion of the work.
What skill level is required for this home improvement project?
This is considered an intermediate-level project that requires basic measurement skills and moderate budget planning. However, professional installation is recommended for optimal noise reduction results and proper window sealing.
Do I need to hire professionals or can I install noise-reducing windows myself?
While the project requires coordination with professional installers for best results, you can handle the initial planning and measurements yourself. Professional installation ensures proper sealing and maximum noise reduction effectiveness.
What prerequisites should I consider before starting this project?
You'll need to assess your current windows, measure the spaces accurately, plan your budget for $300-$1,500 per window, and research qualified local installers. Basic measurement skills and moderate budget planning are essential for project success.
Is upgrading to noise-reducing windows worth it for a home office?
Yes, especially if outside noise disrupts your work productivity. The 60-90% noise reduction can significantly improve concentration and create a more professional environment for video calls and focused work tasks.